The changing of the seasons also comes with the changing of temperatures, weather, and soil conditions. It’s important that your centipede lawn undergoes the proper maintenance during this time of year as it transitions from hot summer temperatures to cooler winter ones. Read on for a list of generic tips to help your centipede lawn transition into the colder months ahead.
1. Reduce Mowing for Deeper Roots
Centipede grass is generally mowed at a height between 1.5–2 inches in height. During the fall, however, you should maintain a height that’s slightly higher than that of the summer. This encourages more profound root growth so your grass survives during winter dormancy in the cooler months. This sets your grass up for survival during its dormancy period, as the roots are what keep the grass alive underground while the blades above ground endure harsh temperatures.
2. Water Less as Temperatures Drop
In the fall, you’ll want to water the centipede less than at other times of the year as temperatures begin to drop. If you overwater your grass, it could lead to disease during this time.
Your centipede generally only needs about 1 inch of water weekly, including rainfall. You’ll want to water a little less than this during the fall months, though, because fall is one of the most opportune times of the year for fungus to start appearing.
This becomes even more likely if you are overwatering your grass or have fall leaves on the ground that create shade areas. Regardless of disease outbreaks, you’ll still want to water your lawn to prevent drought stress while the grass is actively growing. Light watering during dormancy will also prevent dehydration; watering in the early morning will decrease the risk of certain turfgrass diseases.
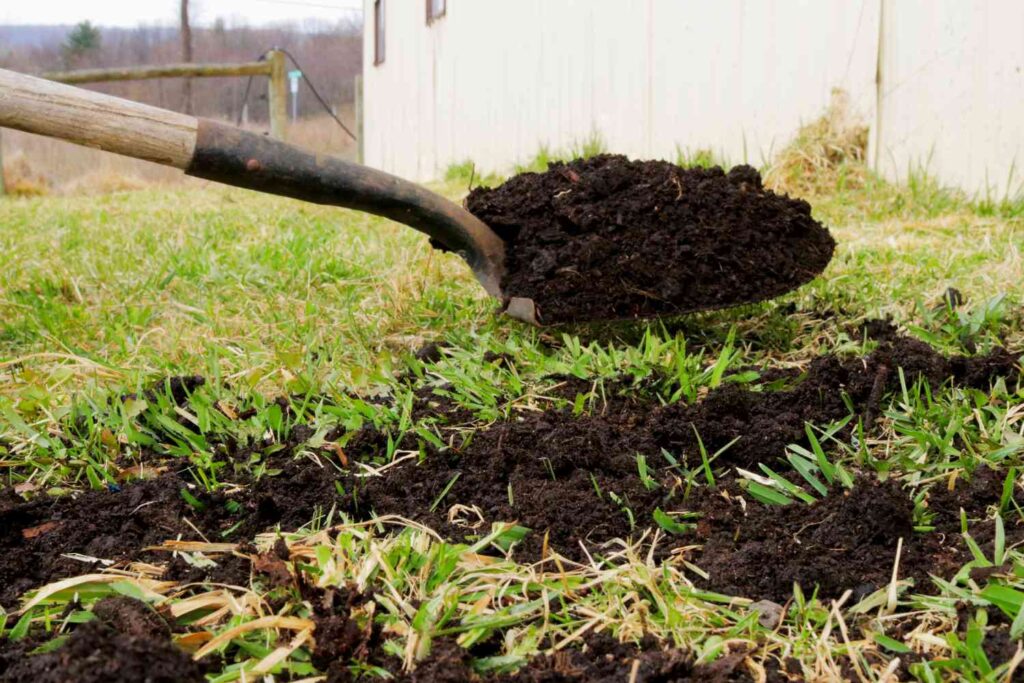
3. Fertilize Your Lawn with the Right Nutrients
Fertilization differs this time of the year compared to the other active growing seasons (spring and summer). As previously stated, outdoor temperatures are starting to change—so are soil conditions. Your grass is a living thing that needs specific nutrients at this time. Depending on the area you live in, your centipede grass will likely enter a state of dormancy.
4. Control Weeds with Pre and Post Emergent Herbicides
Your centipede lawn has just made it through the summer months when herbicide applications damage grass due to hot temperatures. Now that it’s starting to cool down, you can apply both post-emergent and pre-emergent herbicides without risking any damage to your lawn if applied correctly. You may notice that the weeds from summertime are starting to die off. Unfortunately, there are winter weeds that will start to pop up when the months are colder too. We recommend applying a pre-emergent during the fall to prevent winter weeds.
There’s a difference between pre-and post-emergent herbicide control for weeds. A post-emergent herbicide controls any current weeds you are experiencing, whereas a pre-emergent herbicide, as its name suggests, prevents weeds from appearing.
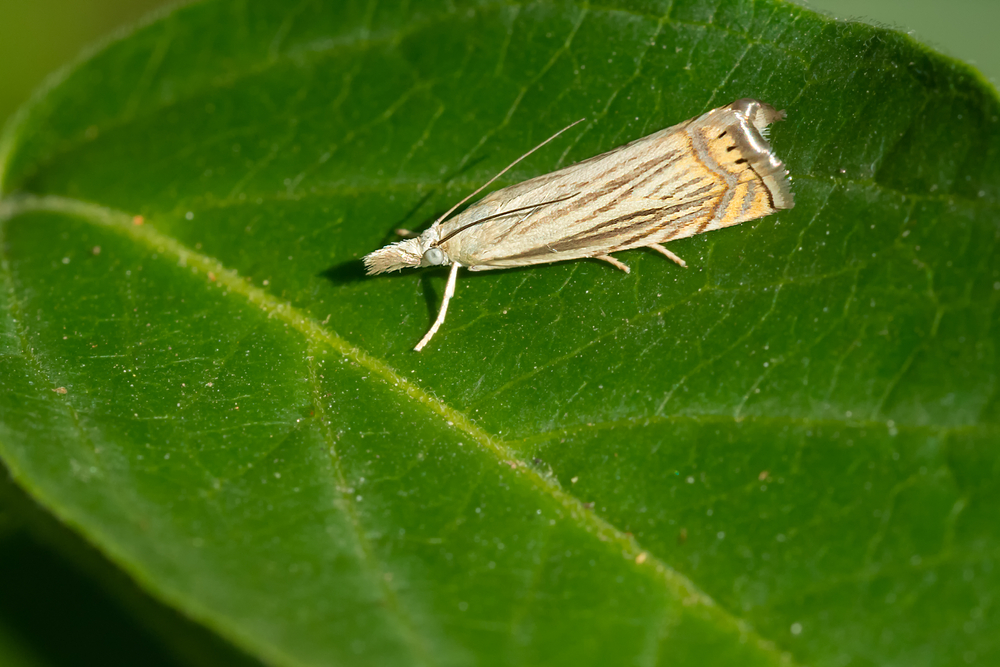
5. Keep an Eye out for Insect Infestations
It’s better to apply an insecticide as a preventative than having to resolve an infestation once damage has already occurred—it’s probably less expensive, too. Apply a broad-spectrum insecticide to prevent harmful insects from taking over your centipede.
Although there could be a variety of insects that may be invading your lawn at this time, the main ones most universities recommend you look out for in your centipede are grub worms.
Sod webworms, fall armyworms, and mole crickets can also be a problem in centipede lawns at this time. If you have insect activity, treat it with an insecticide labeled to treat the insect you are seeing. Be sure to read product labels thoroughly before application. If you use a granular variety, water the lawn immediately after application to help with absorption.
Tip: Remove Any Dead Leaves
As dead leaves accumulate on the ground during the fall, they create shady, darker spots on the lawn. Light cannot reach these areas and moisture becomes trapped. This quickly damages the grass underneath these spots.